


As a trusted supplier of DBB Ball Valves, I understand the significance of proper maintenance and cleaning to ensure the longevity and optimal performance of these essential components. In this blog post, I'll guide you through the step-by-step process of cleaning a DBB Ball Valve, sharing valuable insights and best practices based on my experience in the industry.
Understanding the DBB Ball Valve
Before diving into the cleaning process, let's briefly understand what a DBB Ball Valve is. A Double Block and Bleed (DBB) Ball Valve is a specialized valve designed to provide a positive double block and bleed isolation in a single valve body. This type of valve is commonly used in critical applications where reliable shut-off and isolation are required, such as in the oil and gas, chemical, and power industries. You can learn more about DBB Ball Valves here.
Safety First
Cleaning a DBB Ball Valve involves working with potentially hazardous materials and equipment. Therefore, it's crucial to prioritize safety at all times. Here are some safety precautions to keep in mind:
- Wear appropriate personal protective equipment (PPE), including safety glasses, gloves, and a respirator if necessary.
- Ensure the valve is properly isolated and depressurized before starting the cleaning process. This will prevent any potential leaks or accidents.
- Follow all manufacturer's instructions and guidelines for handling and cleaning the valve.
Step-by-Step Cleaning Process
Now that we've covered the safety basics, let's move on to the step-by-step cleaning process for a DBB Ball Valve.

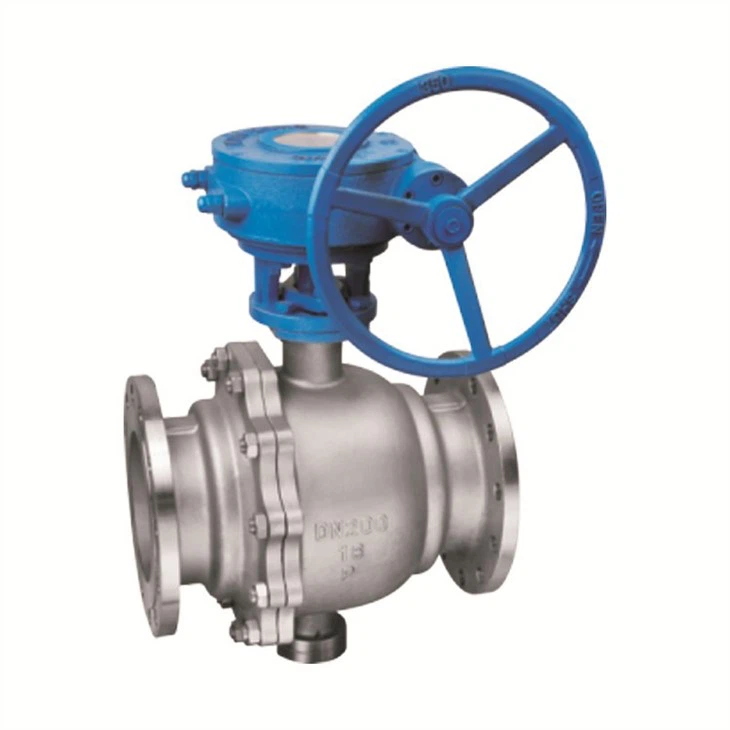
Step 1: Disassembly
The first step in cleaning a DBB Ball Valve is to disassemble it. This will allow you to access all the internal components and clean them thoroughly. Here's how to do it:
- Remove the valve from the pipeline using appropriate tools.
- Carefully disassemble the valve by removing the bolts, nuts, and other fasteners. Keep track of all the parts and their positions to ensure proper reassembly later.
- Remove the ball, stem, and seats from the valve body. These components are the most critical parts of the valve and require special attention during cleaning.
Step 2: Inspection
Once the valve is disassembled, it's important to inspect all the components for any signs of damage or wear. Look for cracks, scratches, corrosion, or other defects that may affect the performance of the valve. Here are some key areas to inspect:
- Ball: Check the surface of the ball for any signs of wear or damage. A damaged ball can cause leaks and reduce the efficiency of the valve.
- Stem: Inspect the stem for any signs of bending or wear. A bent stem can prevent the valve from operating properly.
- Seats: Examine the seats for any signs of wear or damage. The seats are responsible for providing a tight seal between the ball and the valve body, so it's important to ensure they are in good condition.
- Valve body: Check the valve body for any signs of corrosion or damage. A damaged valve body can compromise the integrity of the valve and lead to leaks.
If you find any damaged or worn components, it's recommended to replace them with new ones to ensure the proper functioning of the valve.
Step 3: Cleaning
After inspecting the components, it's time to clean them. There are several methods you can use to clean the components, depending on the type of dirt and debris present. Here are some common cleaning methods:
- Solvent cleaning: Use a suitable solvent to clean the components. Solvents can effectively remove oil, grease, and other contaminants from the surface of the components. However, make sure to use a solvent that is compatible with the materials of the valve.
- Ultrasonic cleaning: Ultrasonic cleaning is a more advanced cleaning method that uses high-frequency sound waves to remove dirt and debris from the components. This method is particularly effective for cleaning small and intricate parts.
- Mechanical cleaning: For stubborn dirt and debris, you may need to use mechanical cleaning methods, such as brushing or sandblasting. However, be careful not to damage the components during mechanical cleaning.
Regardless of the cleaning method you choose, make sure to rinse the components thoroughly with clean water after cleaning to remove any remaining solvent or debris.
Step 4: Lubrication
Once the components are clean and dry, it's important to lubricate them to ensure smooth operation and prevent corrosion. Apply a thin layer of lubricant to the ball, stem, and seats using a brush or a spray. Make sure to use a lubricant that is compatible with the materials of the valve and the operating conditions.
Step 5: Reassembly
After lubricating the components, it's time to reassemble the valve. Follow the disassembly process in reverse order to ensure proper reassembly. Make sure all the components are properly aligned and tightened to the specified torque.
Step 6: Testing
Once the valve is reassembled, it's important to test it to ensure it is functioning properly. Here are some tests you can perform:
- Visual inspection: Check the valve for any signs of leaks or damage.
- Pressure test: Apply pressure to the valve and check for any leaks. Make sure the valve can withstand the specified pressure without any leaks.
- Function test: Operate the valve several times to ensure it opens and closes smoothly. Check for any signs of binding or sticking.
If the valve passes all the tests, it's ready to be reinstalled in the pipeline.
Conclusion
Cleaning a DBB Ball Valve is an important maintenance task that can help ensure the longevity and optimal performance of the valve. By following the step-by-step process outlined in this blog post, you can clean your DBB Ball Valve effectively and safely. Remember to prioritize safety at all times and follow all manufacturer's instructions and guidelines.
If you have any questions or need further assistance with cleaning or maintaining your DBB Ball Valve, please don't hesitate to contact us. We are a leading supplier of DBB Ball Valves, Forged Trunnion Ball Valves, and Cast Trunnion Ball Valves, and we are committed to providing our customers with high-quality products and excellent service. Whether you're looking to purchase a new valve or need help with maintenance and repair, we're here to help. Contact us today to discuss your needs and learn more about our products and services.
References
- Manufacturer's instructions and guidelines for DBB Ball Valves
- Industry standards and best practices for valve cleaning and maintenance